Basketball tactics: the four things that decide matches
Why does a team that trains well lose to a team that does not? Usually because one of them agreed on four things beforehand and the other one agreed on fourteen.
Why does a team that trains well lose to a team that does not?
Not because the other coach found something clever. Usually because one squad had agreed on four things before tip-off and the other had agreed on fourteen, which is the same as agreeing on nothing. Tactics are not what you know. Tactics are what eleven players can still do at 47–47 with three minutes left.
So the useful question is not which system to run. It is which four things are non-negotiable, and everything else is preference.
One: spacing is a distance, not a feeling
Tell a U14 squad to "spread out" and nothing happens, because nobody knows what spread out means. Give them a number and it becomes coachable: roughly four to five metres between adjacent attackers, and the corners occupied. The three-point line sits at 6.75 metres, narrowing to 6.60 in the corners, which is precisely why the corner is the cheapest good shot on the floor and the most commonly abandoned position in junior basketball.
Spacing is defensive as well as offensive. Every metre you give the helper is a metre the driver has to beat twice.
Most teams do not have a spacing problem. They have a problem with two players wanting the same patch of floor at the same second.
Two: timing beats the pattern
A cut that arrives at the right place at the wrong moment is a turnover with good intentions. The rule worth teaching, and worth repeating until it is boring, is that the second cutter waits. One player moves, the defence reacts, and only then does the next one go. Two simultaneous cuts leave both of them covered by the same defender and the ball-handler with nowhere to look.
This is also the answer to the most common complaint in the country — "we have plays but they never work". They work in training because everyone starts on a whistle. They fail on Saturday because nobody knows who goes second.
Three: the first defensive decision
Before any system, your defence needs one agreed answer to one question: what happens on the first ball screen? There are only three honest options, and the worst outcome is having two of them happening at once on the same possession.
- Go under — the defender slides behind the screen. Concedes the shot, protects the drive. Sensible against a team that cannot shoot, indefensible against one that can.
- Go over with a show — the screener's defender steps out briefly to slow the ball. Buys two seconds, costs you the roll if the recovery is late.
- Switch — simplest to coach, and the only one that survives fatigue. It hands over a mismatch, so it needs a rule for what the big man does afterwards.
🔑 Pick one, coach it for a whole half-season, and change it only when an opponent has punished it twice. A squad that defends one thing badly loses fewer matches than a squad that defends three things vaguely.
Four: the possession ends at the rebound
The tactical work everyone skips. Attack sends one player to the offensive glass and the rest retreat; defence agrees that the guard who does not box out is the one who concedes. On an offensive rebound the shot clock resets to fourteen seconds rather than twenty-four, which is exactly why a team that wins that ball twice in the last three minutes usually wins the match.
What to install, and when
| Age group | Attack | Defence |
|---|---|---|
| U12 | Spacing and one pass-and-cut rule. No set patterns | Man-to-man only, no help. Everyone learns to guard someone |
| U14 | Pass-and-cut plus one ball screen, run from both sides | Man-to-man with one help rule. Introduce the ball-screen answer |
| U16 | A five-out structure, two entries, plus a break rule | Man-to-man properly coached; zone only as a change of pace |
| U18 | Two structures, one for man-to-man and one against zone | Two defensive settings and a trigger for switching between them |
⚠️ Zone defence at U12 and U14 wins matches on Saturday and costs you players by U18. It hides individual defending rather than developing it, and the bill arrives three seasons later when nobody in the squad can guard the ball on their own.
Drawing the gap instead of the players
Every coach draws five circles and four arrows. The circles are the least useful part of the diagram, because players already know where they stand — what they cannot see, from inside the game, is the shape of the space between them.
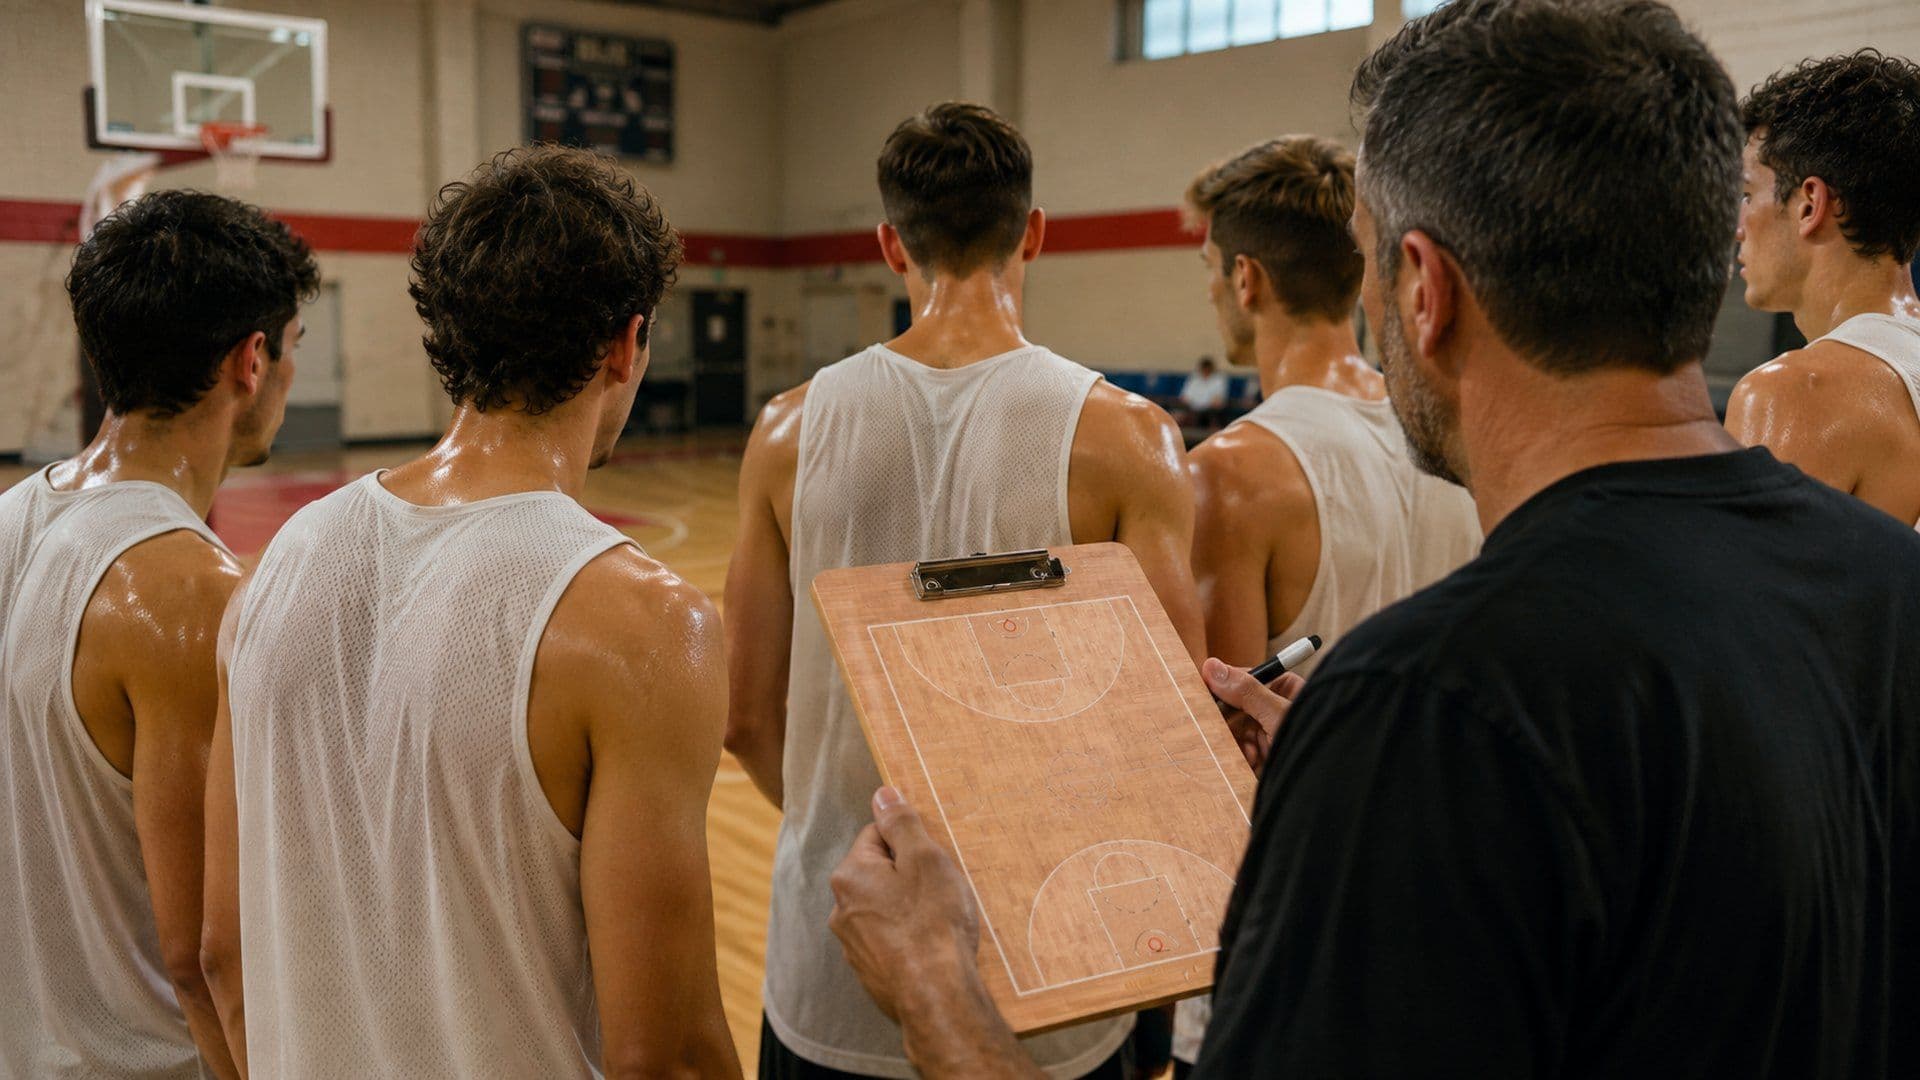
So use the coaching board the other way round. Draw the floor, shade the two patches that must stay empty, and put the circles in last. Then wipe them and ask a player to redraw the same possession from memory. It takes ninety seconds, it is the fastest way to find out whether "spread out" has actually landed, and with liquid-ink boards you can do it four times in one time-out without a smear.
These four foundations are what set plays are built on top of, not a substitute for them. When you are ready to put them into a dead ball, the sideline and baseline options are in the guide to throw-in plays, and the sessions that make any of it stick start with five drills that hold up any session.
Design your own coaching board
Over 10,000 coaches have already created theirs.
You might also like
Liked this article?
Design your fully personalised coaching board with your name, club colours and team identity.
Design now →